Have you ever wanted to create your own running animation? Whether it’s for a video game or an animated video, running animations are a vital part of many projects. But where do you even start?
The key to creating a realistic running animation is in the frames. By breaking down the movement into individual frames, you can create a smooth and natural animation that captures the essence of running. In this article, I’ll walk you through the process of creating running animation frames step-by-step.
So grab your pencil and paper, and get ready to bring your characters to life with a running animation that will make them seem like they’re running right off the page.
What is Run Cycle In Animation?
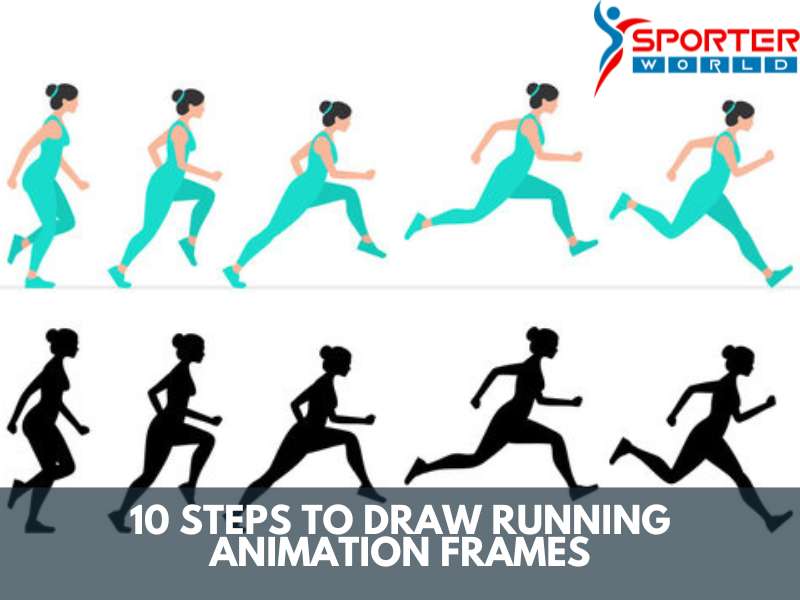
Run Cycle in Animation is an animation that creates the illusion of a character running. It typically involves a series of keyframes illustrating each frame of motion as the character moves forward. Each frame includes subtle changes in body position, making it look like the character is running. To create a convincing run cycle, animators must be aware of physics and anatomy, as well as pay attention to the timing of each frame.
Here are 10 Steps To Draw Running Animation Frames
Creating a running animation involves breaking down the movement into a series of frames depicting the running cycle’s different stages. Here’s a step-by-step guide on how to draw running animation frames:
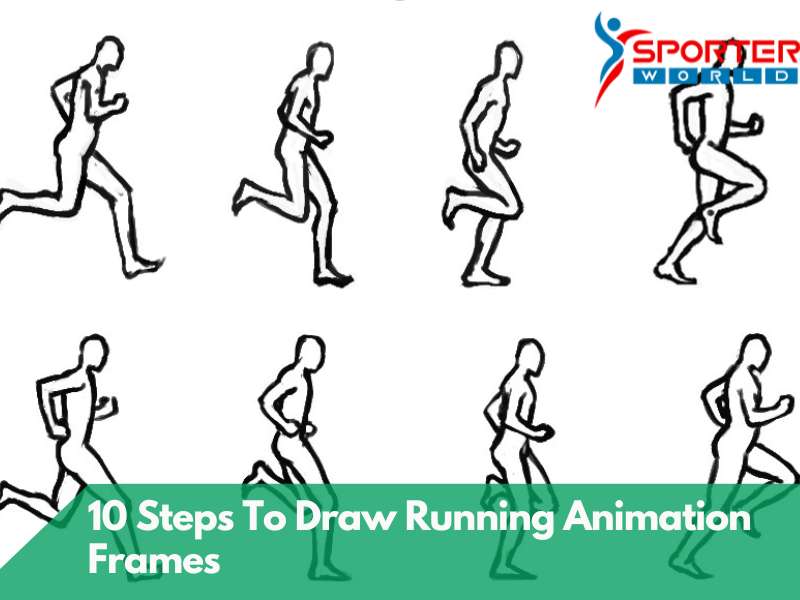
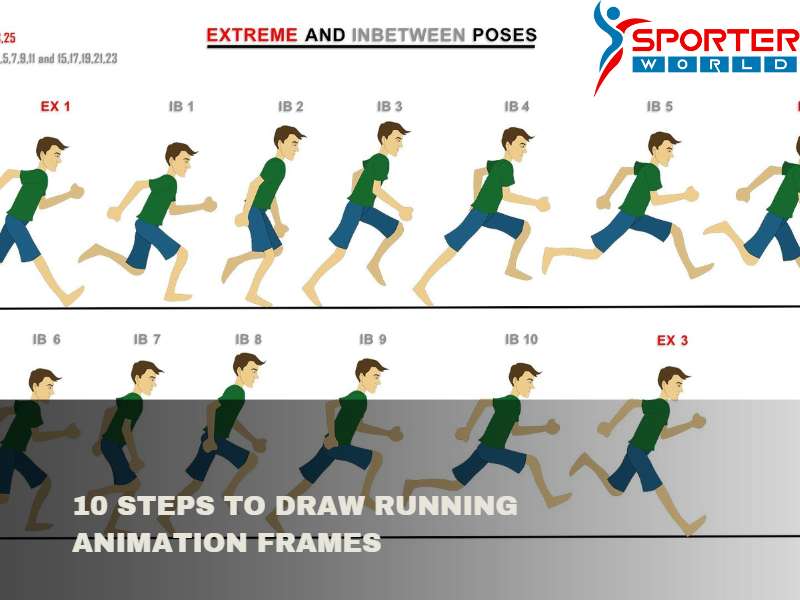
- Start with the keyframes: Begin by sketching the keyframes that define the extreme poses of the running cycle. These keyframes typically include the starting pose, the mid-air pose, and the landing pose. Use simple stick figures or basic shapes to outline the main body positions.
- Establish the timing: Determine the number of frames you want to use for your animation and evenly distribute them between the keyframes. This will help you establish the timing and flow of the running motion.
- Create the breakdown poses: Fill in the gaps between the keyframes by drawing breakdown poses. These poses represent the in-between positions that smoothly transition from one keyframe to another. For example, you can draw a pose that shows the runner’s leg in mid-air as they push off the ground or a pose that captures the runner’s legs coming together during mid-stride.
- Add details and refine the forms: Once you have the basic poses and timing in place, add more details to your drawings. Refine the shapes of the limbs, torso, and head, ensuring they follow a running figure’s natural proportions and movements. Pay attention to the bending and stretching of joints and the placement of body weight.
- Focus on fluidity and motion: Smooth out the transitions between frames to create a sense of fluid motion. Pay attention to the arcs traced by body parts such as arms and legs as they move through the running cycle. This will help convey a sense of momentum and realism to the animation.
- Add secondary motion: Consider adding secondary motion to enhance the realism of the running animation. This can include movements like the hair flowing, clothing flapping, or the slight bounce of other body parts like the breasts or muscles.

- Check for consistency: Review your frames to ensure consistency in the character’s proportions, positions, and timing. Make adjustments as needed to create a seamless and believable animation.
- Clean up the drawings: Once satisfied with the overall animation, clean up your drawings. Remove unnecessary lines, refine the shapes, and erase construction lines or rough sketches.
- Ink or trace the frames (optional): If desired, you can use ink or a darker drawing tool to trace over the finalized frames, giving them a cleaner and more defined appearance.
- Color or shade (optional): Apply colors or shades to your animation frames if you wish. This step can add depth and visual interest to your final result.
Remember, practice and observation are key to mastering animation. Study real-life references of people running, watch running sequences in movies or cartoons, and experiment with different styles and techniques to develop your unique animation style.
What is The Difference Between A Run Cycle And A Walk Cycle?
The difference between a run cycle and a walk cycle is primarily in the number of frames used. A run cycle typically uses more frames than a walk cycle, requiring more movement for the character to appear to be running. For example, an 8-frame walk cycle will usually include three frames with one foot planted on the ground, two feet in the air, and three feet back on the ground, whereas a 12-frame run cycle will have four frames with two feet in the air and eight feet on the ground.
Additionally, because of the faster running pace, there is usually more secondary motion, such as hair and clothing flapping, in a run cycle than in a walk cycle. Gather reference images: Before you start, gather some reference images of people running to help you visualize the movement and understand how the body should look in each position. This will help you create a believable animation.
Adjust your timing: Once you have the basics down, experiment with different timings for each frame. You may need to adjust your timings if it doesn’t look natural or believable.
Read More: How to Learn Freestyle Motocross 2023?-Easily Explained

Frequently Asked Questions
How many frames do I need for a smooth-running animation?
The number of frames required for a smooth-running animation can vary depending on the desired speed and level of detail. However, a common guideline is to aim for around 8 to 12 frames per second (fps) for basic animation. This means that you would need between 8 and 12 frames for a one-second animation. You can increase the frame rate to 24 or even 30 fps to achieve smoother motion.
Should I draw the entire body in each frame of the running animation?
While it’s important to establish the key poses of the entire body in each frame, you don’t necessarily have to draw every detail in every frame. Focus on capturing the essential body positions and movements to save time and maintain consistency. You can simplify the limbs into basic shapes or use stick figures for the in-between frames. This approach lets you emphasize key movements and transitions while maintaining a consistent overall look.
How can I convey a sense of speed in my running animation?
You can use several techniques to convey a sense of speed in your running animation. First, exaggerate the positions of the limbs and body to create dynamic and stretched poses. You can also add motion lines behind the character to indicate movement. Additionally, consider adjusting the timing between frames and reducing the number of frames during the airborne phase to give a faster impression. Experiment with these techniques to find the balance that suits your animation’s desired sense of speed.
Can I use software or digital tools to create running animation frames?
Absolutely! Using digital tools and animation software can be a great advantage when creating running animation frames. Animation software improves frame creation, timing, effects, and adjustment. Animation tools have onion skinning to help keep movements consistent by displaying multiple frames at once. The principles of running animation are the same for traditional and digital methods.
Conclusion
Creating running animation frames is a process that requires careful planning and timing. Gather reference images to understand how the body should move in each frame, adjust your timings if it doesn’t look believable, use 8-12 frames per second for basic animation, and consider using digital animation tools to help with the process. With practice and patience, you can create beautiful running animations.


